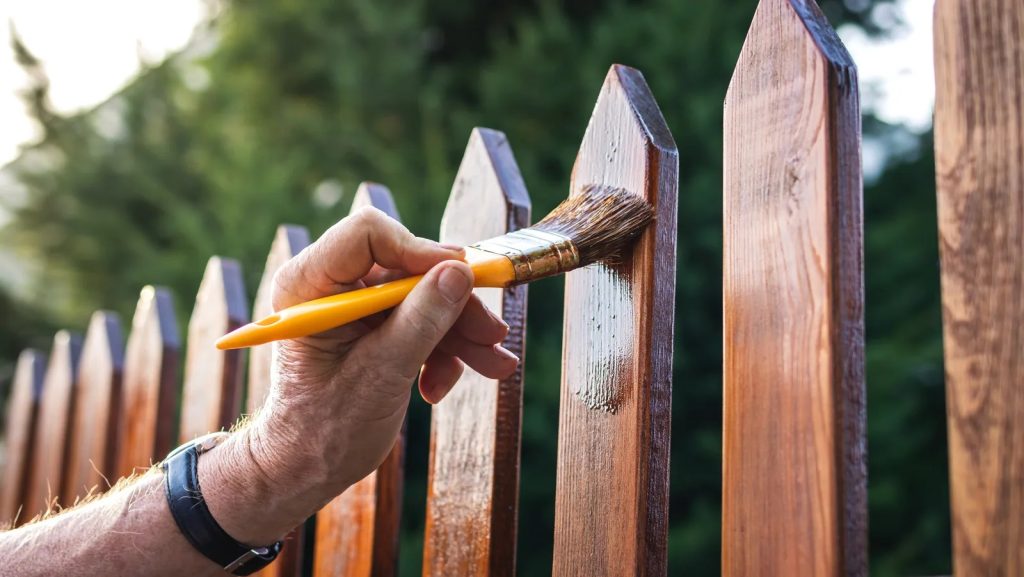

Transform your outdoor space with our detailed guide on painting wood fences. Learn essential tips for a flawless finish and long-lasting protection. This is among the best practices that one can ever consider since painting your wood fence not only beautifies the house but also acts as a protective shield. Deck & Fence Painting Services can make it as good as new in case it is old and rusty, making it last for a longer period. In this specific guide, we will guide you on how to Paint.
A Wood Fence while focusing on creating that professional sheen to your work. If you are a do-it-yourself person or thinking of hiring a contractor such as JP’s Custom Painting, this article will assist you in getting the best outcome.
Why to Paint Your Wood Fence?
Now that you know how to paint a wood fence, it is important to look at the reasons why paint is essential. A well-painted wall not only boosts the aesthetic appeal of your property but also protects the wood from moisture, hence preventing moisture-related problems such as rotting and decaying.
• Protects the fence from UV light and therefore significantly take a long time to fade or crack.
• Aids in extending the general life of the fence hence requiring little or no replacements often.
Materials and tools needed
This process may require the following materials.
Before starting the painting process, gather the following materials and tools:
• If the exterior walls are painted, they should use exterior wood paint, or if they used stain on the outer side, they should use a stain.
• This is especially true if one wishes to paint a surface that has never been painted before, also known as what is referred to as the primer.
• Some of the tools used while painting could be the paintbrush, roller, or paint sprayer.
• A piece of sandpaper or a power sander, preferably with medium grit paper.
• Scraper
• As to the type of coverings to be used on the floors, one ought to use drop cloths or tarps.
• Painter’s tape
• Paint tray
• Wire brush for brushing out loose Paint
• Personal protective equipment namely; hand gloves, eye protection (goggles), facial protection (mask).
Step 1: Prepare the Fence
The first thing that one should know about JP’s Custom Painting is preparation. This includes washing and sanding the fence so that the paint will stick to it for a longer period.
1. Clean the Fence: Begin by washing off the surface area of the fence with dirt, mildew, and debris. That will require some pressure to clean, although you should not use the pressure washer on the wood as it will put some holes in it. That way, wait for an ample amount of time, ensuring the fence has adequately dried before proceeding.
2. Scrape Off Old Paint:
If your fence has outdated paint that is peeling or flaking, get a scraper and wire brush and peel or scrape it off. If you fail to do so, the surface will be unlevel, which could cause poor adhesion to the paint.
3. Sand the Surface:
Scrub the fence with medium-grit sandpaper to remove any rough spots where the paint will not stick well. If the fence you are refinishing is large, you should use a power sander to reduce the time spent on the exercise.
4. Repair Any Damage:
Look for all the nails that seem to be coming out or the boards that appear to be deteriorating. Address these areas if you want to paint your fence with the best outcome possible, hence repairing or replacing these regions.
Step 2: Apply Primer
This forms an important part of how to paint a wood fence, especially for a wall that has never been painted or is presently painted but wants to be repainted from a darker color to a lighter one.
1. Choose the Right Primer: Choose an appropriate exterior wood primer for the type of paint you plan to apply to the wood. Older fence paint requires an oil-based primer, while newer wood should use a water-based primer.
2. Apply the Primer: To apply the coat of paint, you must use the brush, roller, or sprayer you choose and ensure the coat is even on the fence. Focus on structures with a higher density of wooden frames, such as edges and corners, as the wood tends to deteriorate faster at those points. As mentioned earlier, wait for the primer to dry for the specified time as recommended by the manufacturer.
Step 3: Paint the Fence
What follows is even more interesting and brings a great deal of excitement about how to paint a wood fence the right way. This process needs time and effort to ensure that the ends are as even as possible.
1. Choose the Right Paint: It would be wise to use exterior paint for wood designed to give the best outcome. Depending on your goals, you can either opt for a solid color or get a semi-transparent stain.
2. Apply the First Coat: When painting the fence, begin at the top; this will help you avoid coming across droplets and lines halfway down the wall. You should use a brush for detailed work and a roller or a sprayer for large areas. It is necessary to discretize every stroke so that there is a slight contact between them, which leads to smoothness.
3. Let It Dry: Wait for the first layer to dry to enhance the substrate’s holding power. The drying time mentioned on the paint’s lid will vary with the weather and the paint type.
4. Apply a Second Coat: After painting, it is advisable to apply a second coat of paint for a better and longer-lasting finish. It will also help deepen the color while adding an extra layer of protection from the weather.
Step 4: Revised and Enhance Writing and Scattered Papers
Once the painting is done, check the entire painted surface to see if there are any areas that you might have missed or if any previous work required additional special focusing. Remove painters and tarps and wash brushes, rollers, or the sprayer according to the instructions on the paint container.
1. Inspect the Fence: Circumambulate a fence and search for thin areas where the paint might not have gone on very well. You will need to brush these places.
2. Clean Up: Thoroughly clean the room, disposing of any drop cloths, tape, or used material. Ensure your tools are clean to maintain proper usage for future purposes.
Maintenance Tips for a Painted Wood Fence
To keep your fence looking fresh, follow these maintenance tips:
• Periodically check the exterior of the fence, whether wood or painted, and repair it whenever it has chipped off or the paint is peeling.
• Pretreat the fence yearly to avoid the accumulation of dirt and mildew on it.
• Cut plants and bushes to some length that will not allow them to deposit water at the outer side of the fence.
When you master these directions on how to paint a wood fence, you’ll improve the look of your home and preserve it for a long time. Whether one begins the undertaking themselves or hires painters such as JP’s Custom Painting, a well-maintained painted fence can last long.

Leave a Reply